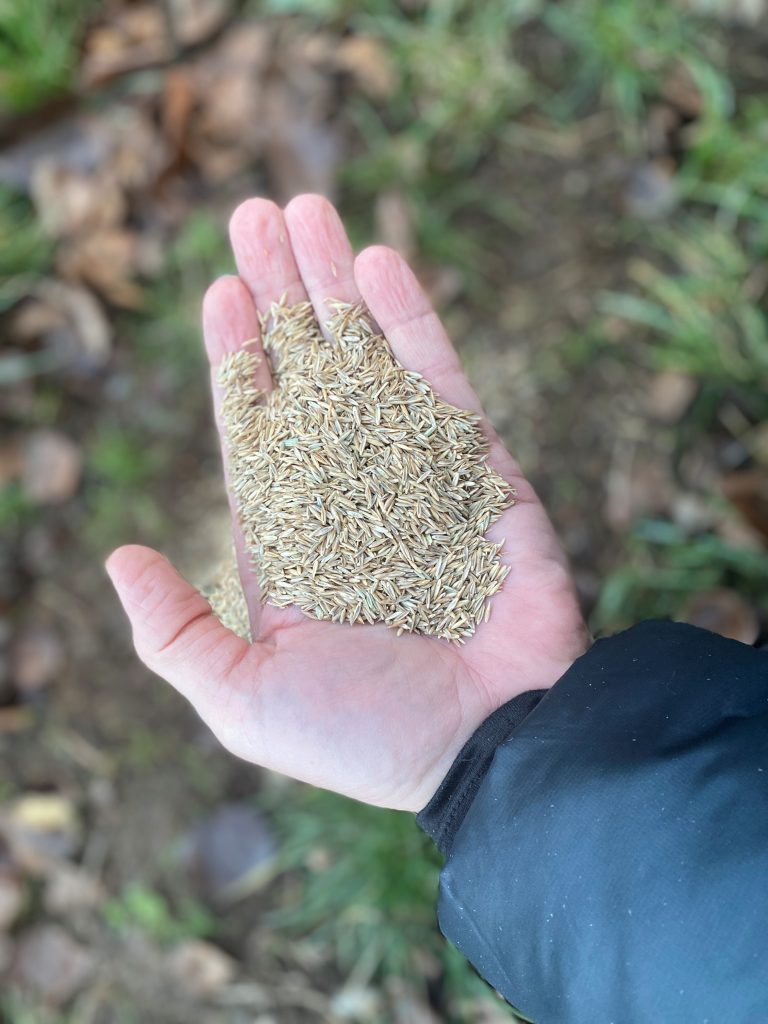
So you are ready to spread some grass seed. Be sure that you’ve taken care of the following steps:
– you know the pH of your soil
– you’ve got a firm seed bed
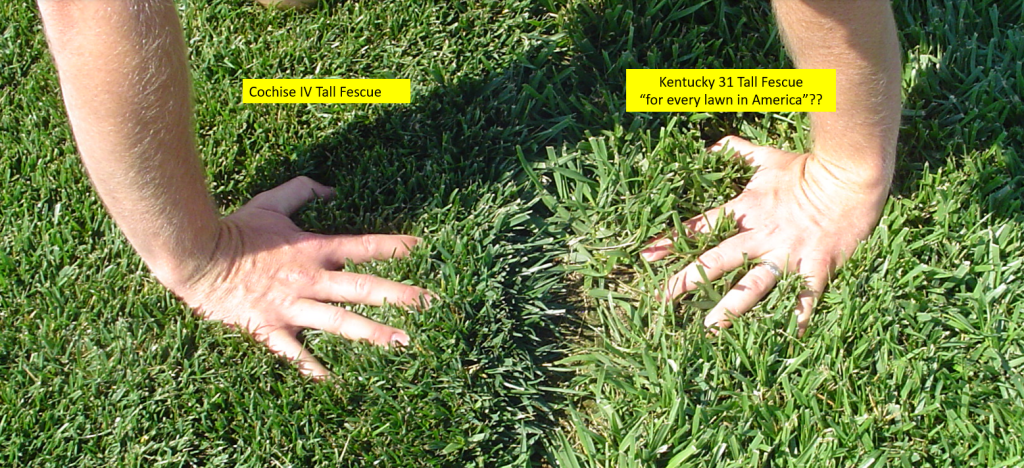
– you’ve got just the right seed for your area and your soil
In this article, we’ll talk about the 3 critical things you must do to have seeding success.
You may be familiar with the phrase “If it’s worth doing, do it right the first time.”
You can control every step in this article, with one exception – the weather. So do the things well that you can control and your opportunity for success is great.
Now that you’ve chosen the proper seed for your soil and conditions, you need to make sure that you can get it established correctly. And quite frankly, this is where most people mess up, big time.
One of the worst things a garden center manager wants to hear on the other end of the phone is – “That seed you sold me didn’t grow.”
So please be very careful to follow the steps outlined below to ensure a successful lawn seeding.
1. Plant at the Right Time
This may seem obvious, but if you’re in central Kentucky and it’s 175 degrees outside, and it’s not rained in 4 years, you probably should hold off on starting that new lawn.
Seriously, check with your local university extension office for the best times to plant seed in your area. The window is pretty wide, but there are some common sense times to avoid, such as the summer heat or when the ground is frozen.
So, if you do happen to be in Kentucky, the University of Kentucky has a great turf grass program, and the local extension office will be able to help you tremendously.
For the most part, spring and fall are usually great times, no matter where you live.
2. Plant into the Right Environment
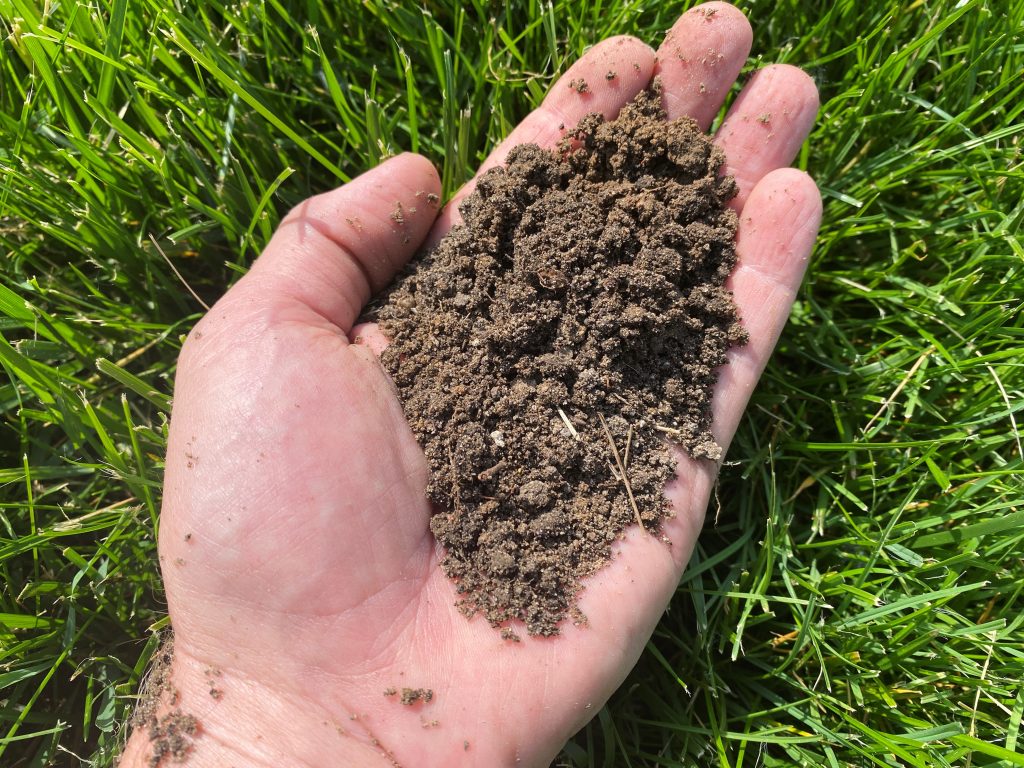
If it’s a brand new seeding where you’ve worked up the soil, then you’ve tested the soil and amended it accordingly – with lime and/or starter fertilizer.
OR
If you’re overseeding into existing turf, you’ve aerated and applied starter fertilizer.
Okay, now you’re ready to plant. You can do this in a couple of ways:
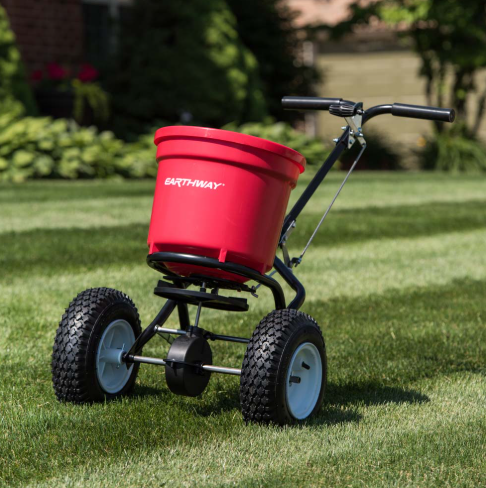
Use a Broadcast Spreader
Using a quality broadcast spreader will help you apply accurate amounts of seed (and fertilizer) to the area you’re working to improve.
You can simply use your spreader and broadcast the seed right on top of the soil. If you choose this method, it’s very important to then roll the area so that you are pressing the seed into the soil. Using a broadcast spreader is great if you’re starting a brand new lawn, where there’s no (or little) existing grass.
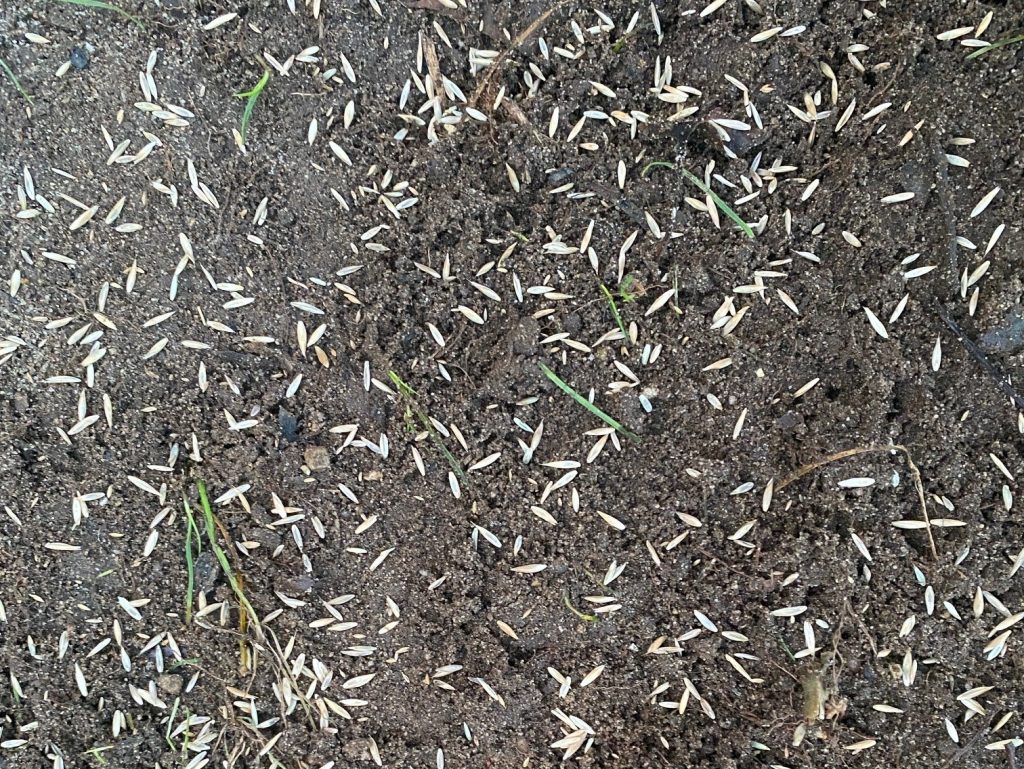
SEED TO SOIL CONTACT is critical for a successful planting. “Seed to soil contact” doesn’t mean that the seed is just lying on top of the ground. It must be pressed into the soil. You want the seed to be about 1/8-1/4 inch deep.
Warning: do not plant the seed too deeply. You should be planting your seed into a firm seedbed.
There is a highly complicated, scientific way to determine if your seed bed is firm enough – you should be able to bounce a basketball on it. If you can’t, then roll your lawn again until it is firm enough, broadcast your seed, and then roll again one final time.
Use a Slicer Seeder
Using a slicer seeder works great, especially if you’re overseeding into existing turf. Again, make sure you’re slicing your seed into a firm seed bed. Set the seeder to the recommended depth (no deeper than 1/2″), and plant your seed.
If it’s dry, you may want to irrigate your lawn before doing this or wait until after a rain. There are pull-behind types and walk-behind. The walk behind models with give you a nice workout.
3. Protect Your Seed the Right Way
The seed must be kept moist once it has germinated. Those new roots need to have food and moisture to grow deep into the soil.
It takes very little wind and sun to dry out their tiny new roots. Your grass seed doesn’t stand a chance without some sort of protection.
If you’re planting a new lawn, use a form of erosion and wind control material that will hold the moisture in place and protect the new seedlings from the direct sun. There are many products to choose from.
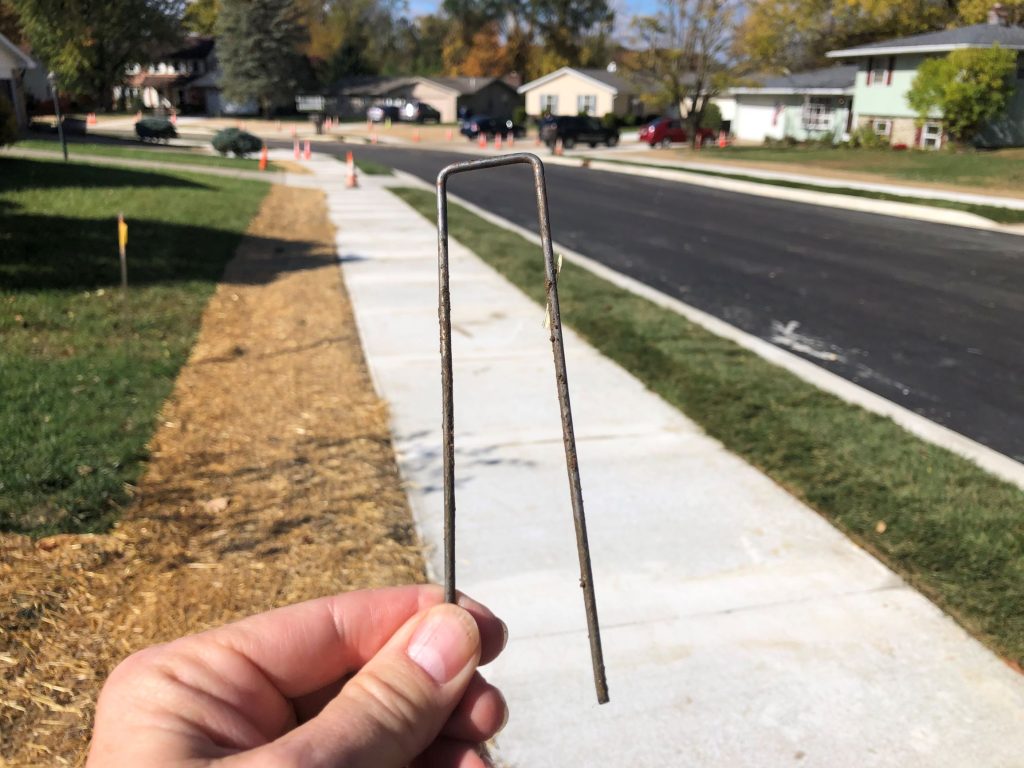
If you’re planting on a slope, an erosion-control blanket that is held together with netting will keep the seed and the erosion-control material in place while the seed grows right through it. There is no need to tear it up – it will eventually deteriorate.
If it’s a flat area or you are just filling in a few bare spots, you can use straw, HydroMulch, or Mulch Pellets. You can also use sphagnum peat. Keep the layer of material light and moist so that you don’t smother the seed.
If you’re slice seeding into an existing turf, just keep the area moist.
Slice seeding into bare ground still requires some form of moisture control barrier as mentioned above.
